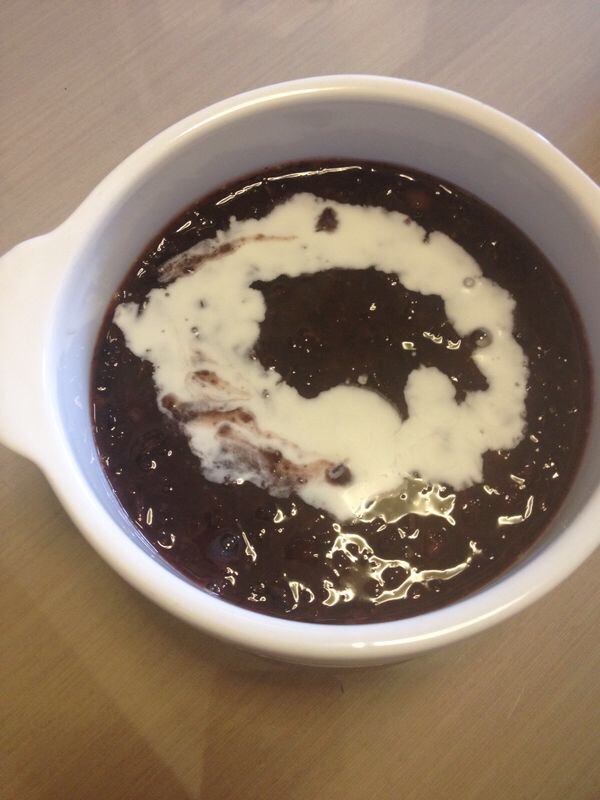
Pulut Hitam - Sticky Black Rice Pudding
Desserts made with sticky black rice are a specialty of Southeast Asia. This unpolished,…
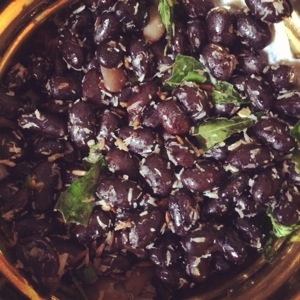
Navaratri Recipes - Cous Cous Payasam, Easy Sundals, and Quick Ladoos
This is exactly a week late so let's say this is more of a post Navarathri round up. But you could…