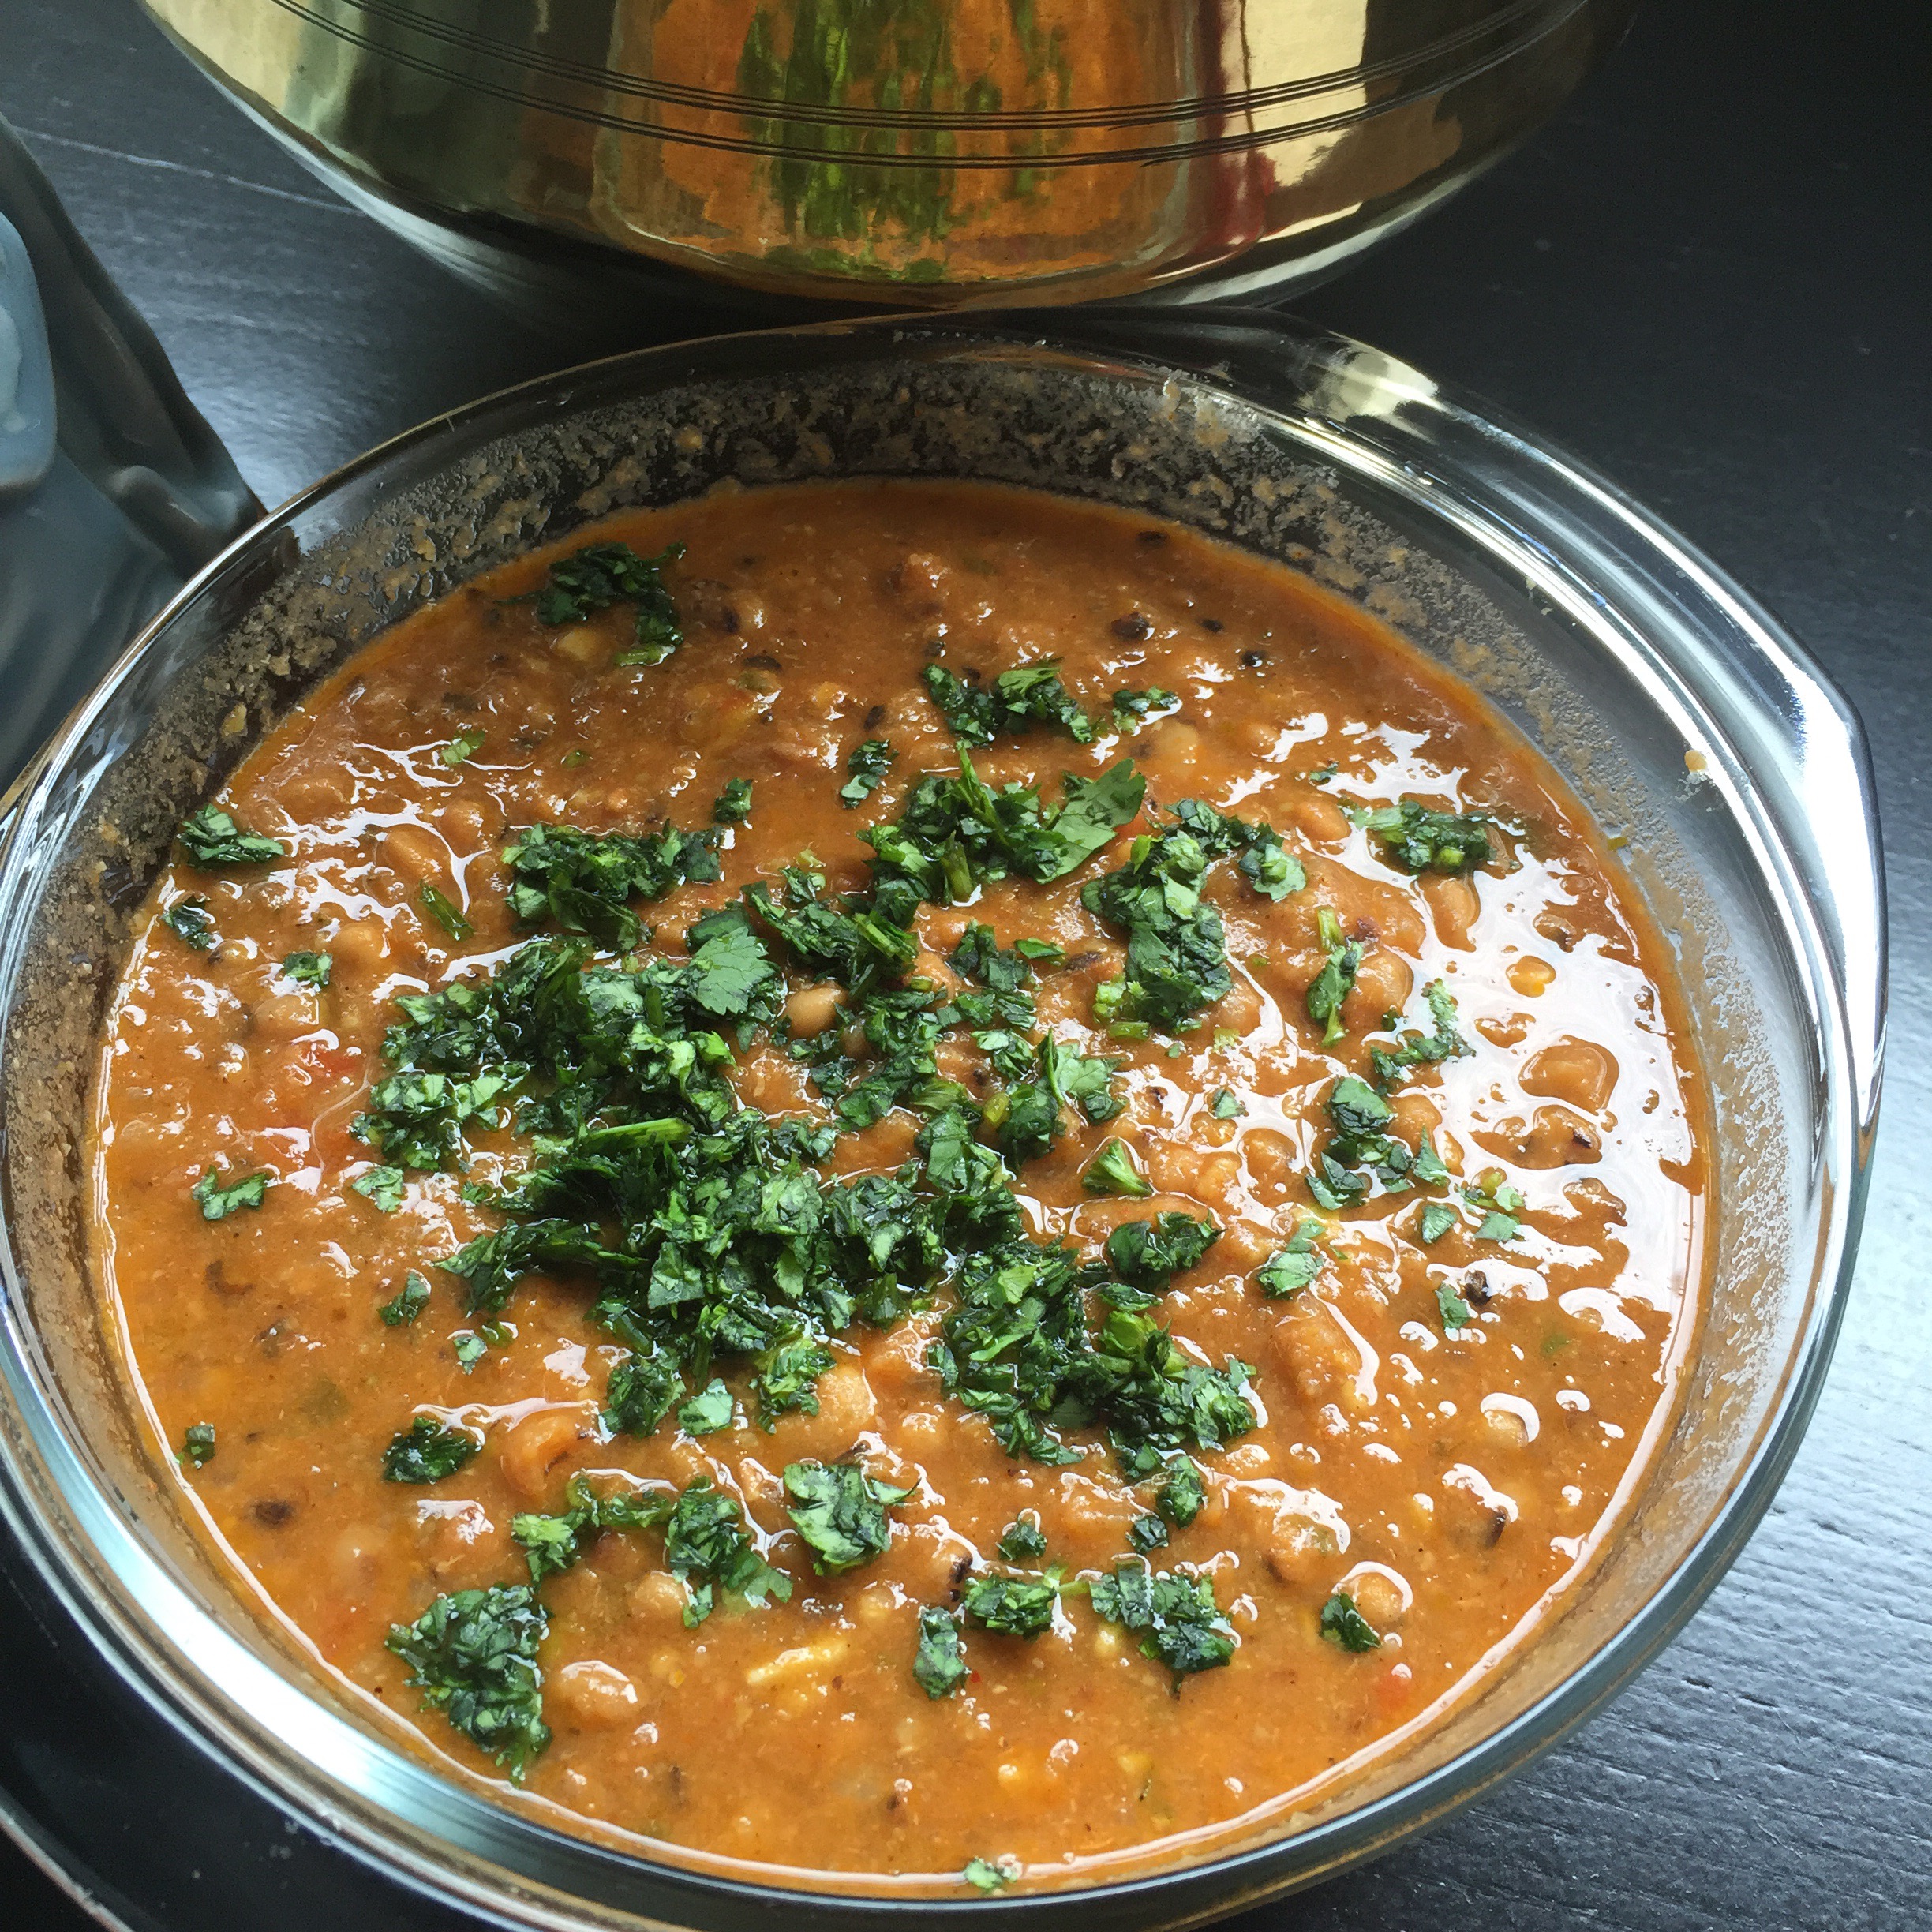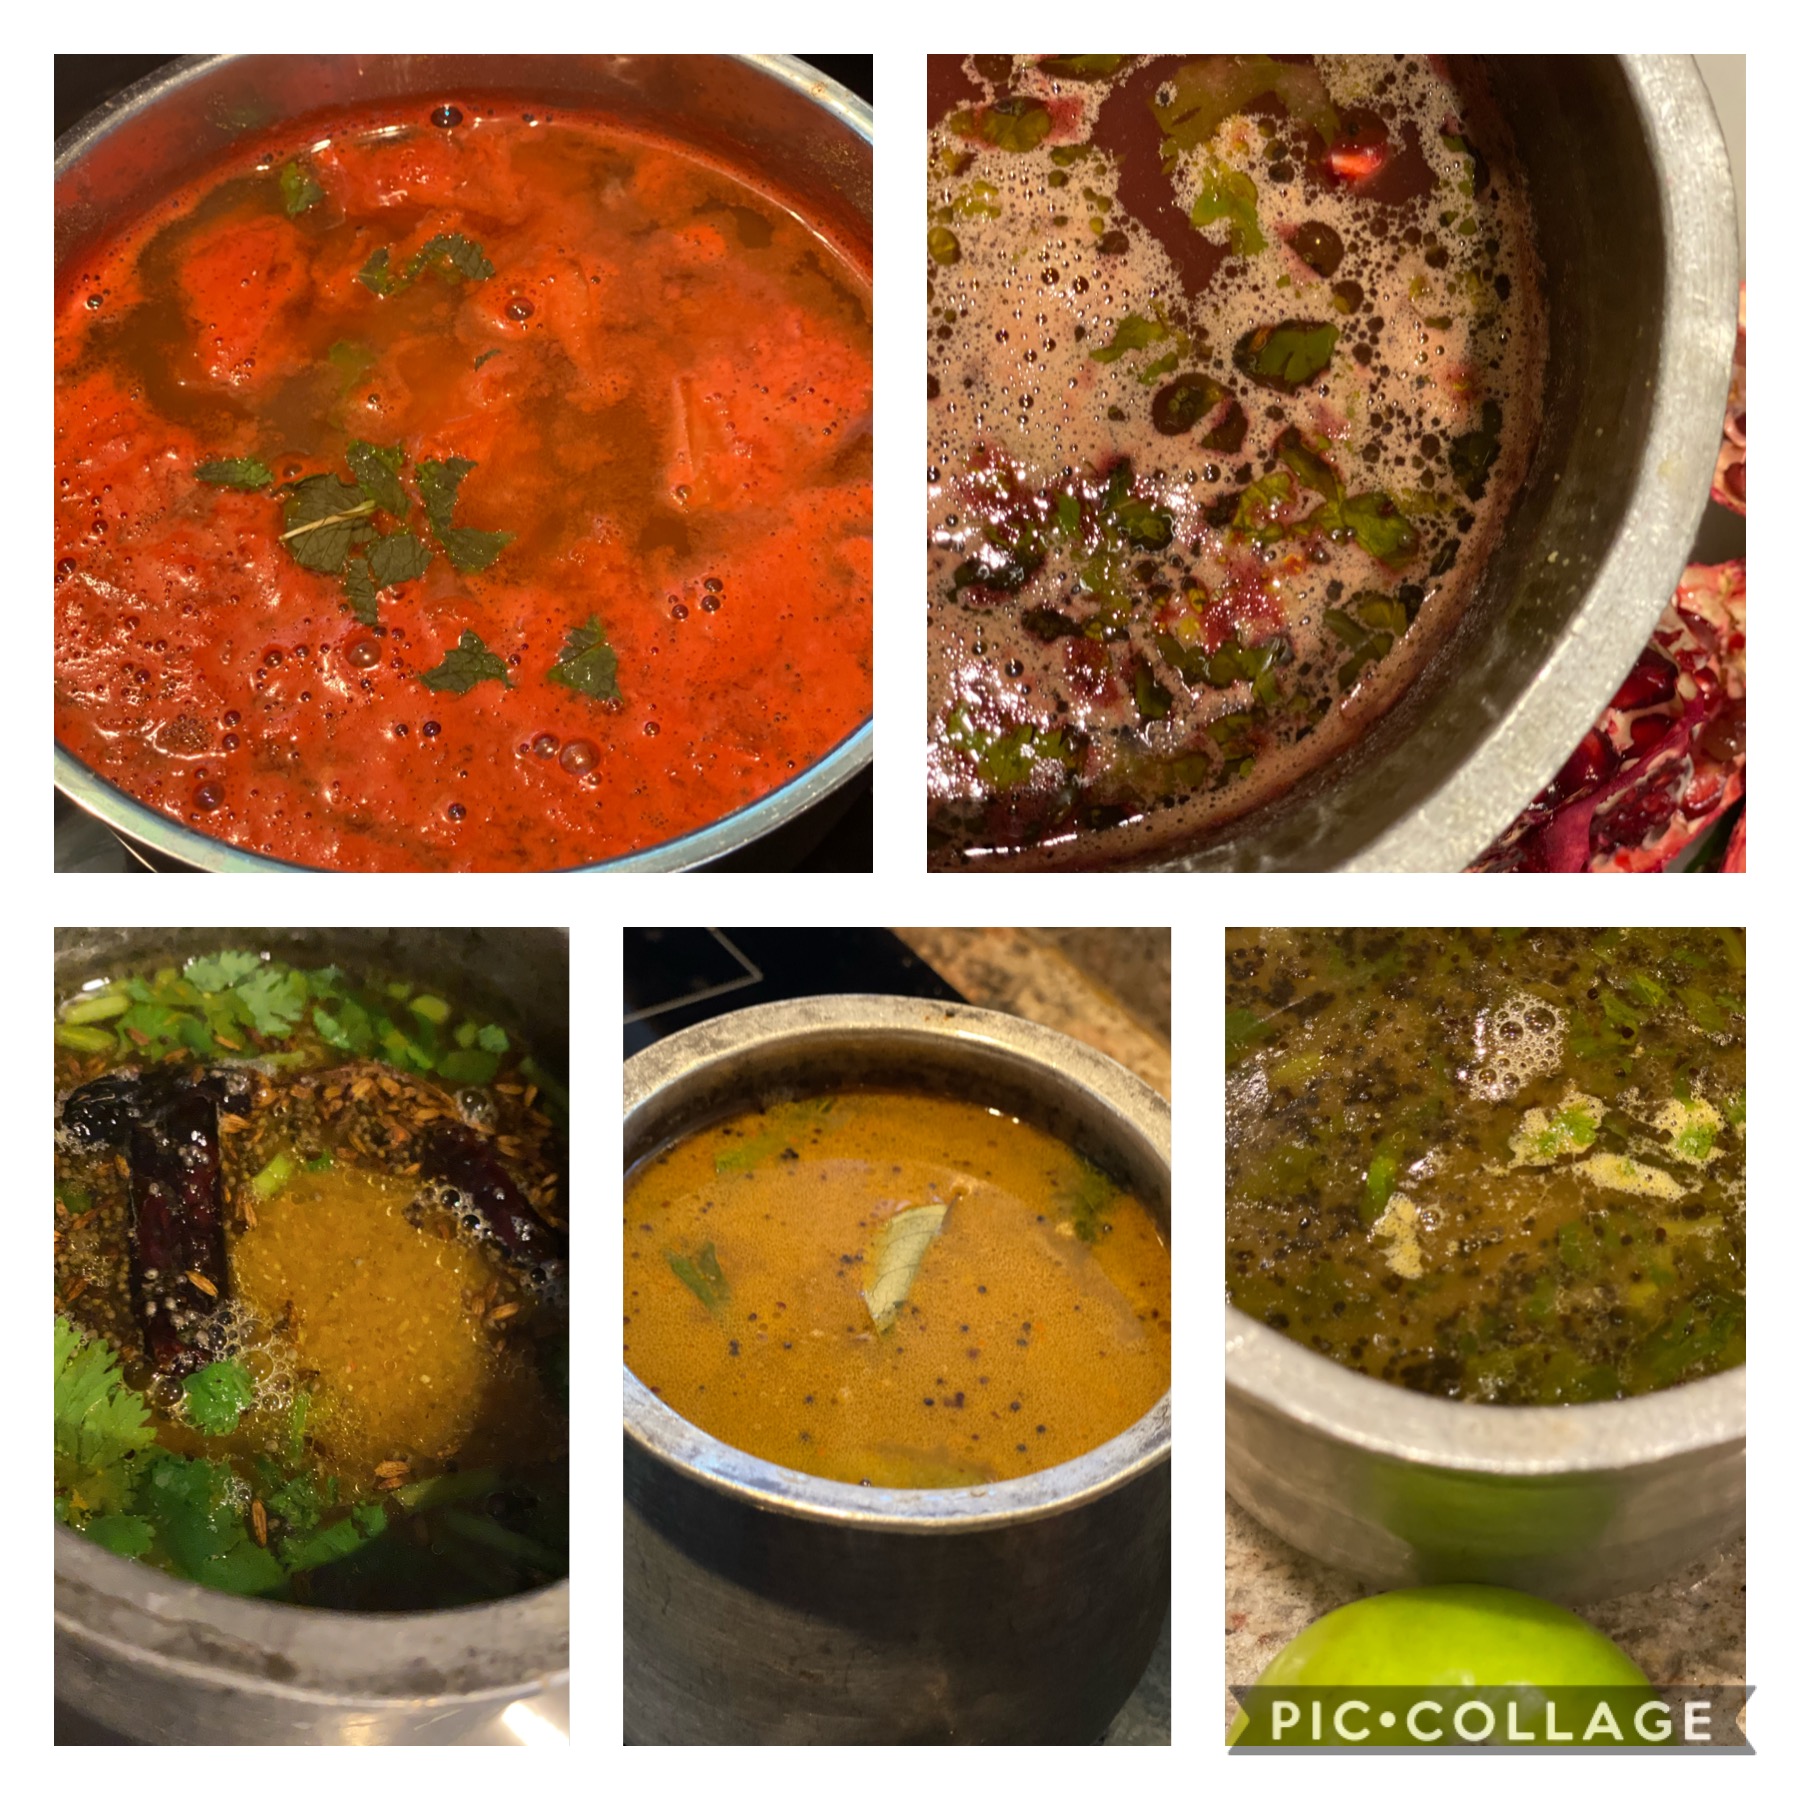
Why Rasam Is the Ultimate Broth | Recipe for Kandathippili Rasam
Contributed by Sumathi Vaidyanathan for Sumathi's Medley. A broth for all occasions – it is…
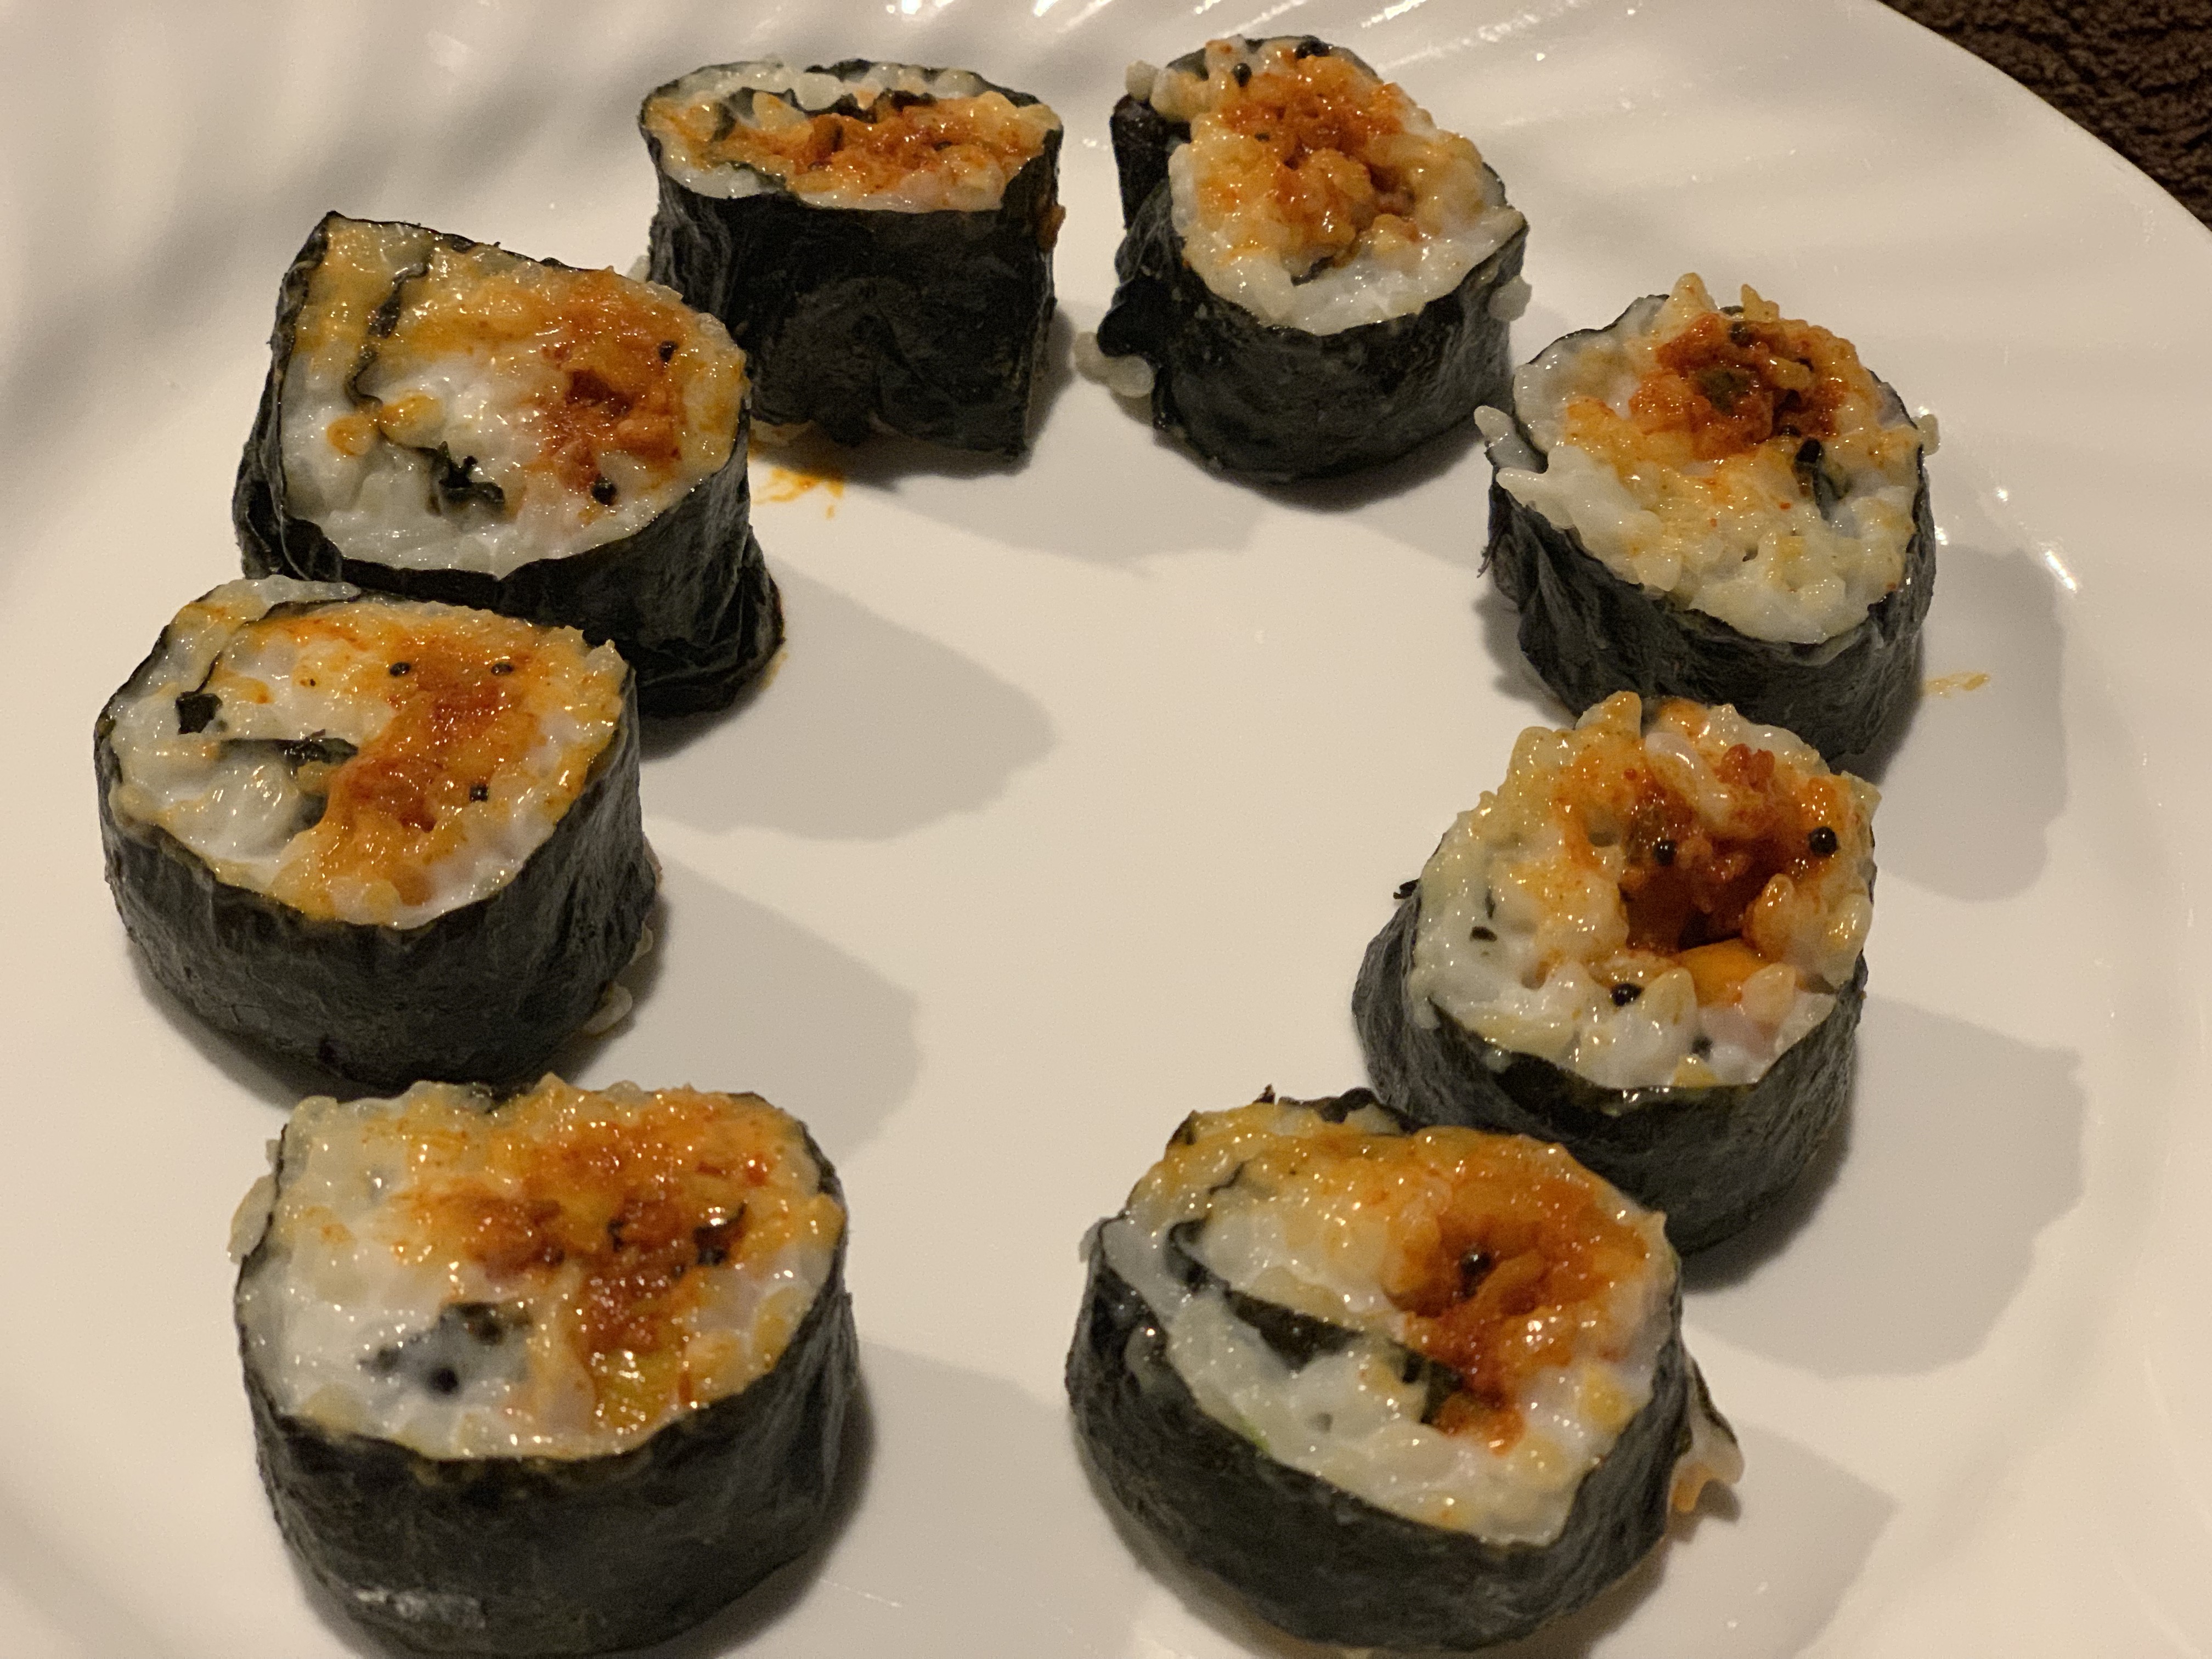
South Indian Curd Rice Sushi - Thachi Mammu Sushi
How do you say "Thachi Mammu" (yoghurt rice or curd rice for the uninitiated) in Japanese? 😉.…
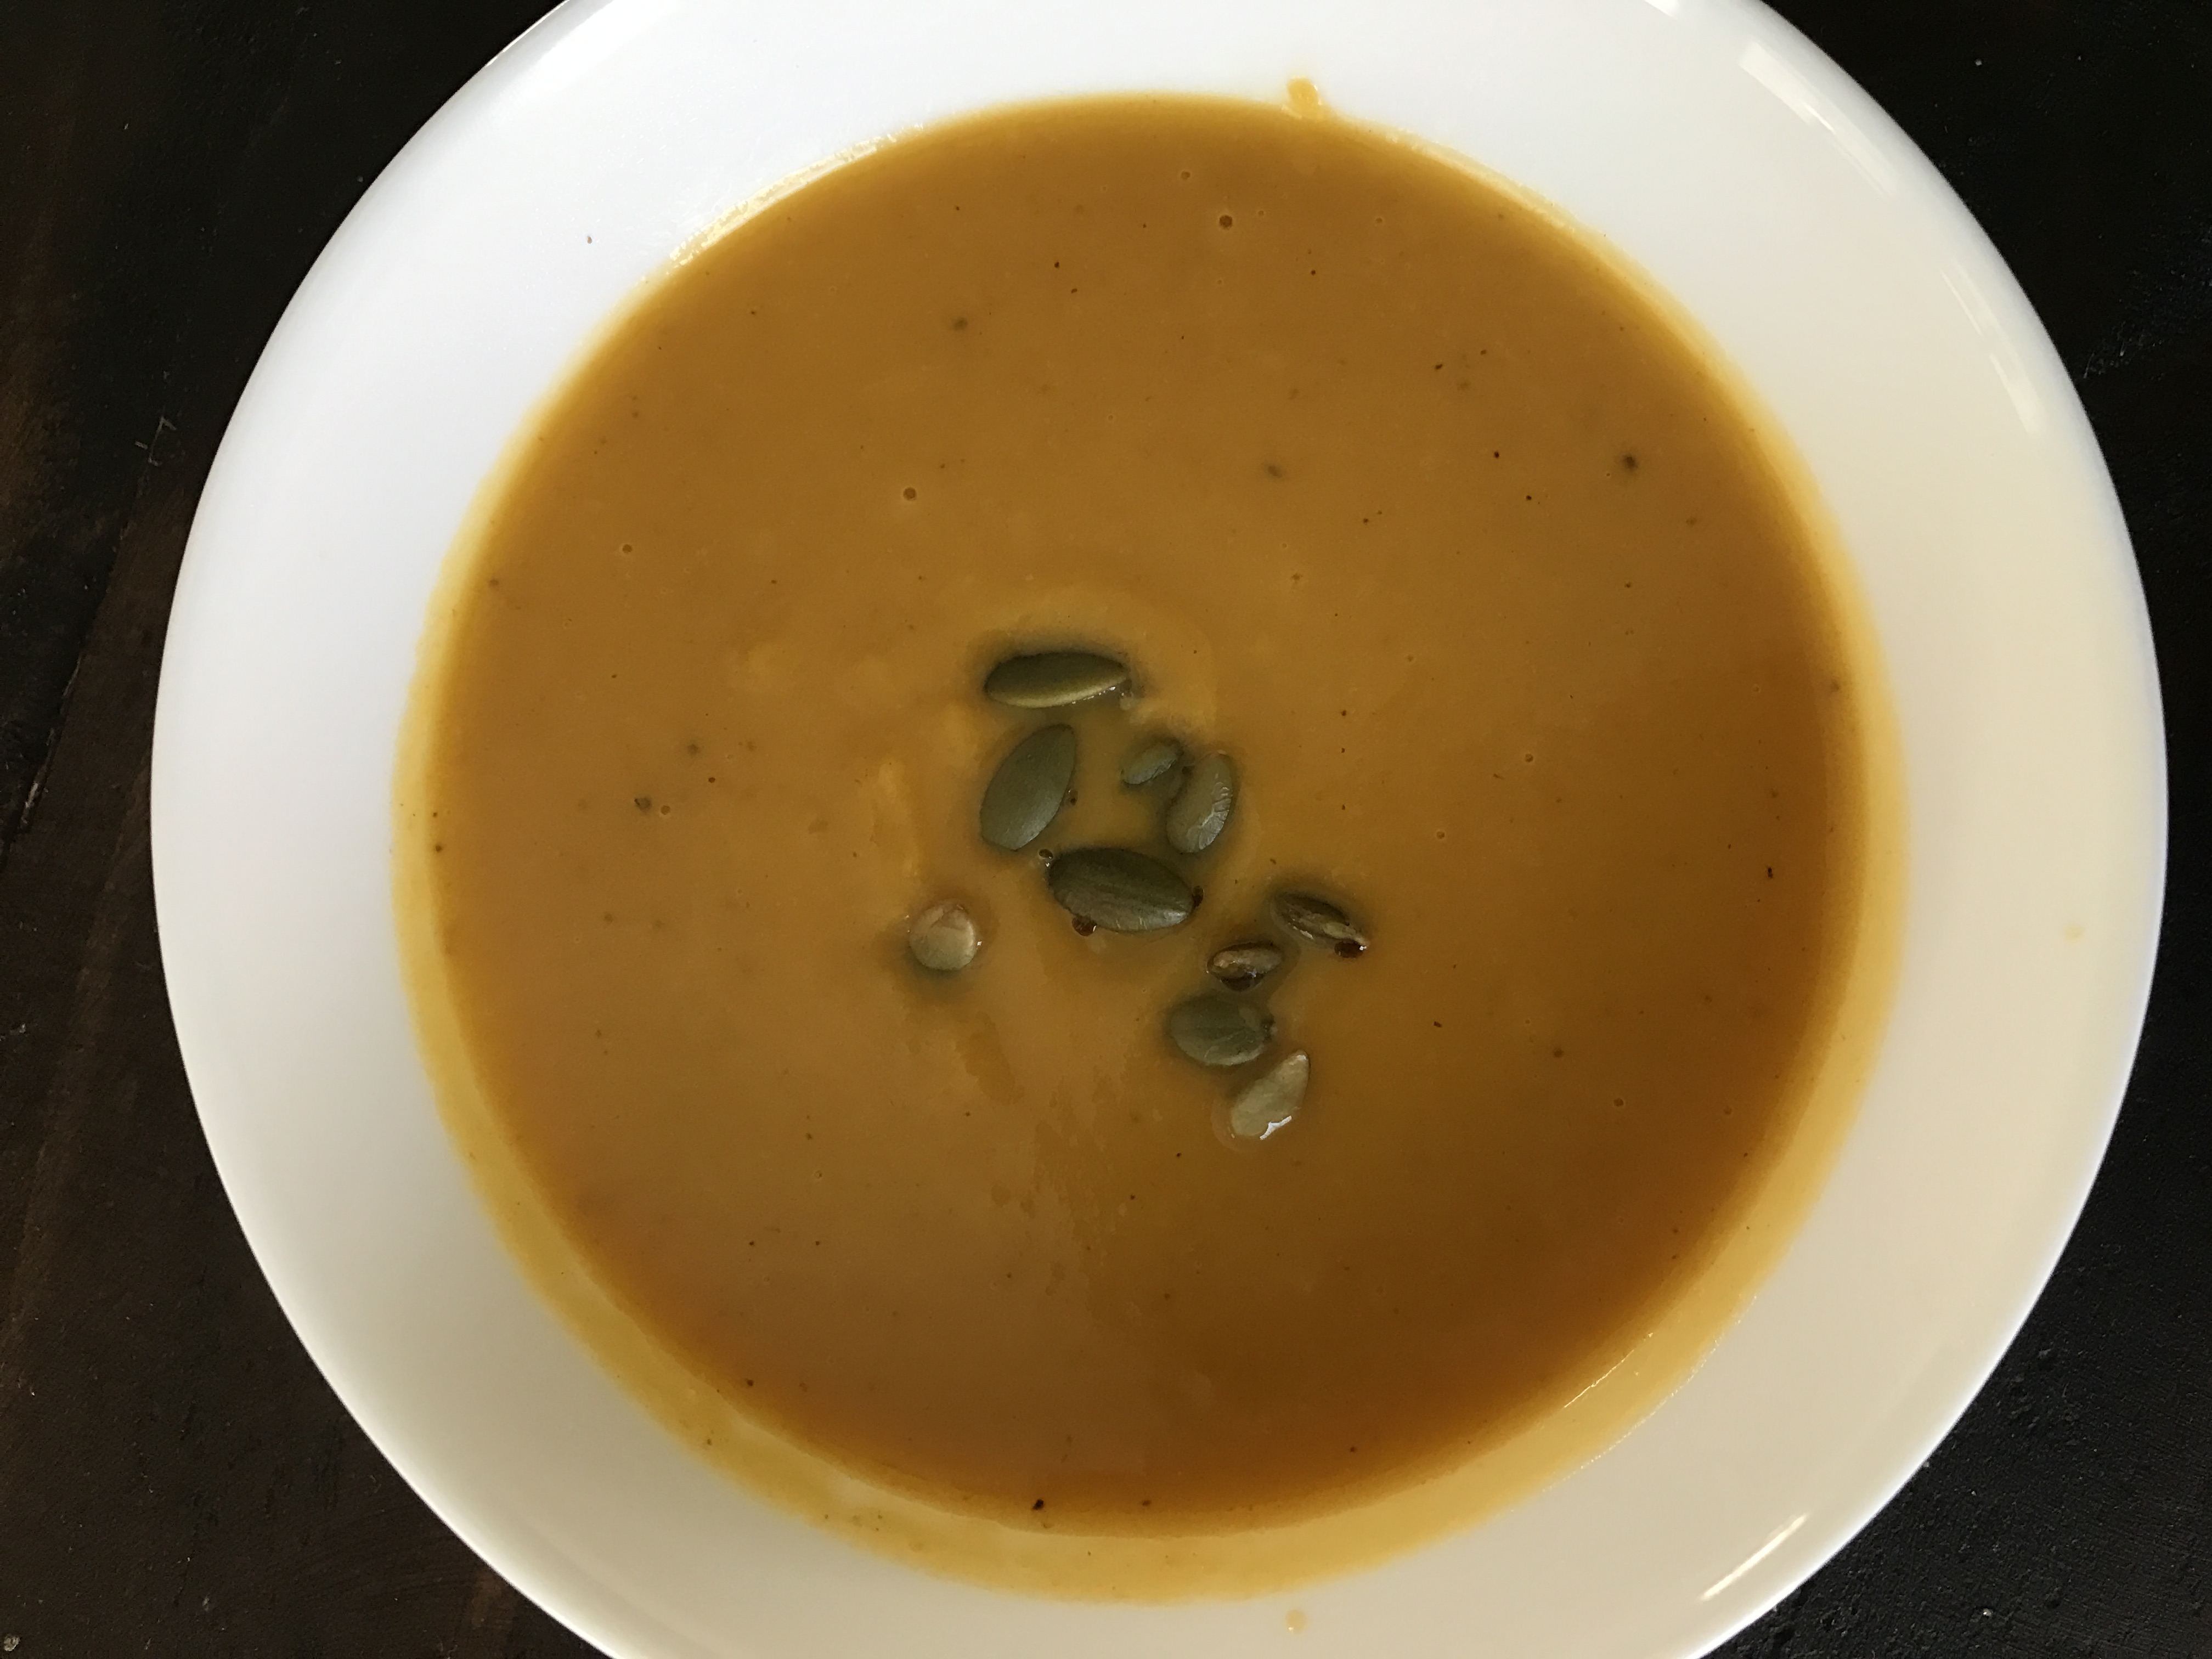
Instant Pot Vegan Butternut Squash Soup
An easy, quick vegan Instant Pot soup. So I joined the Instant Pot bandwagon last Thanksgiving,…

6 minute Homemade Paneer
I have been in another funk again...not just with blogging, but with most other things. 2016 and…