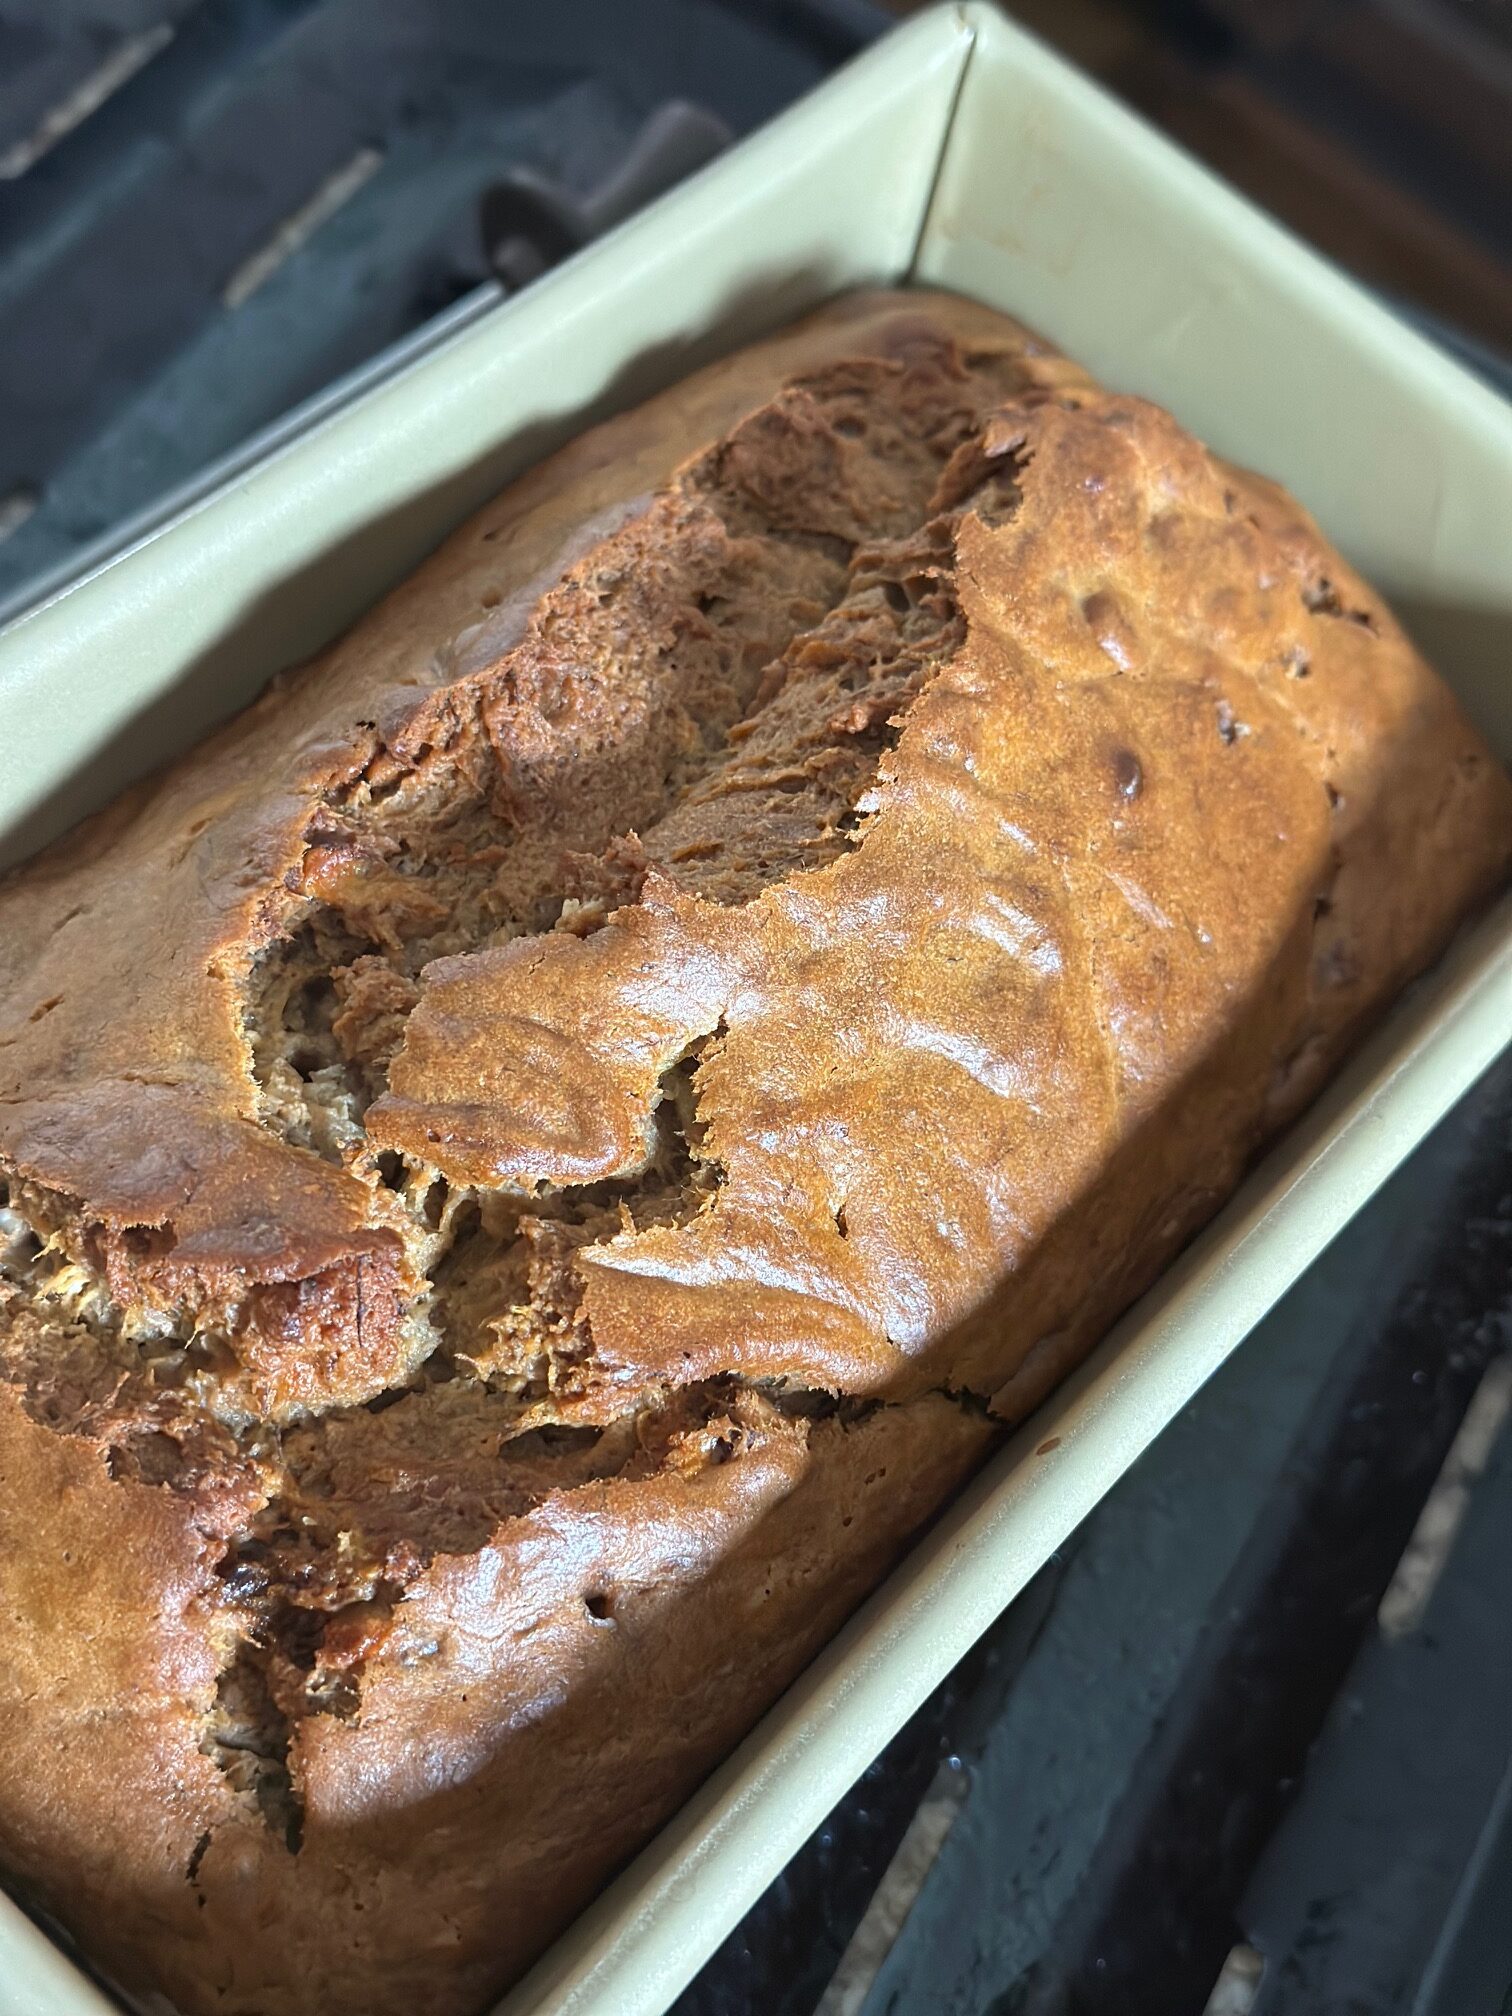
Easy Eggless Protein Banana Bread Recipe
Is Protein the New Superfood? A Midlife Perspective. Have you noticed the protein explosion…
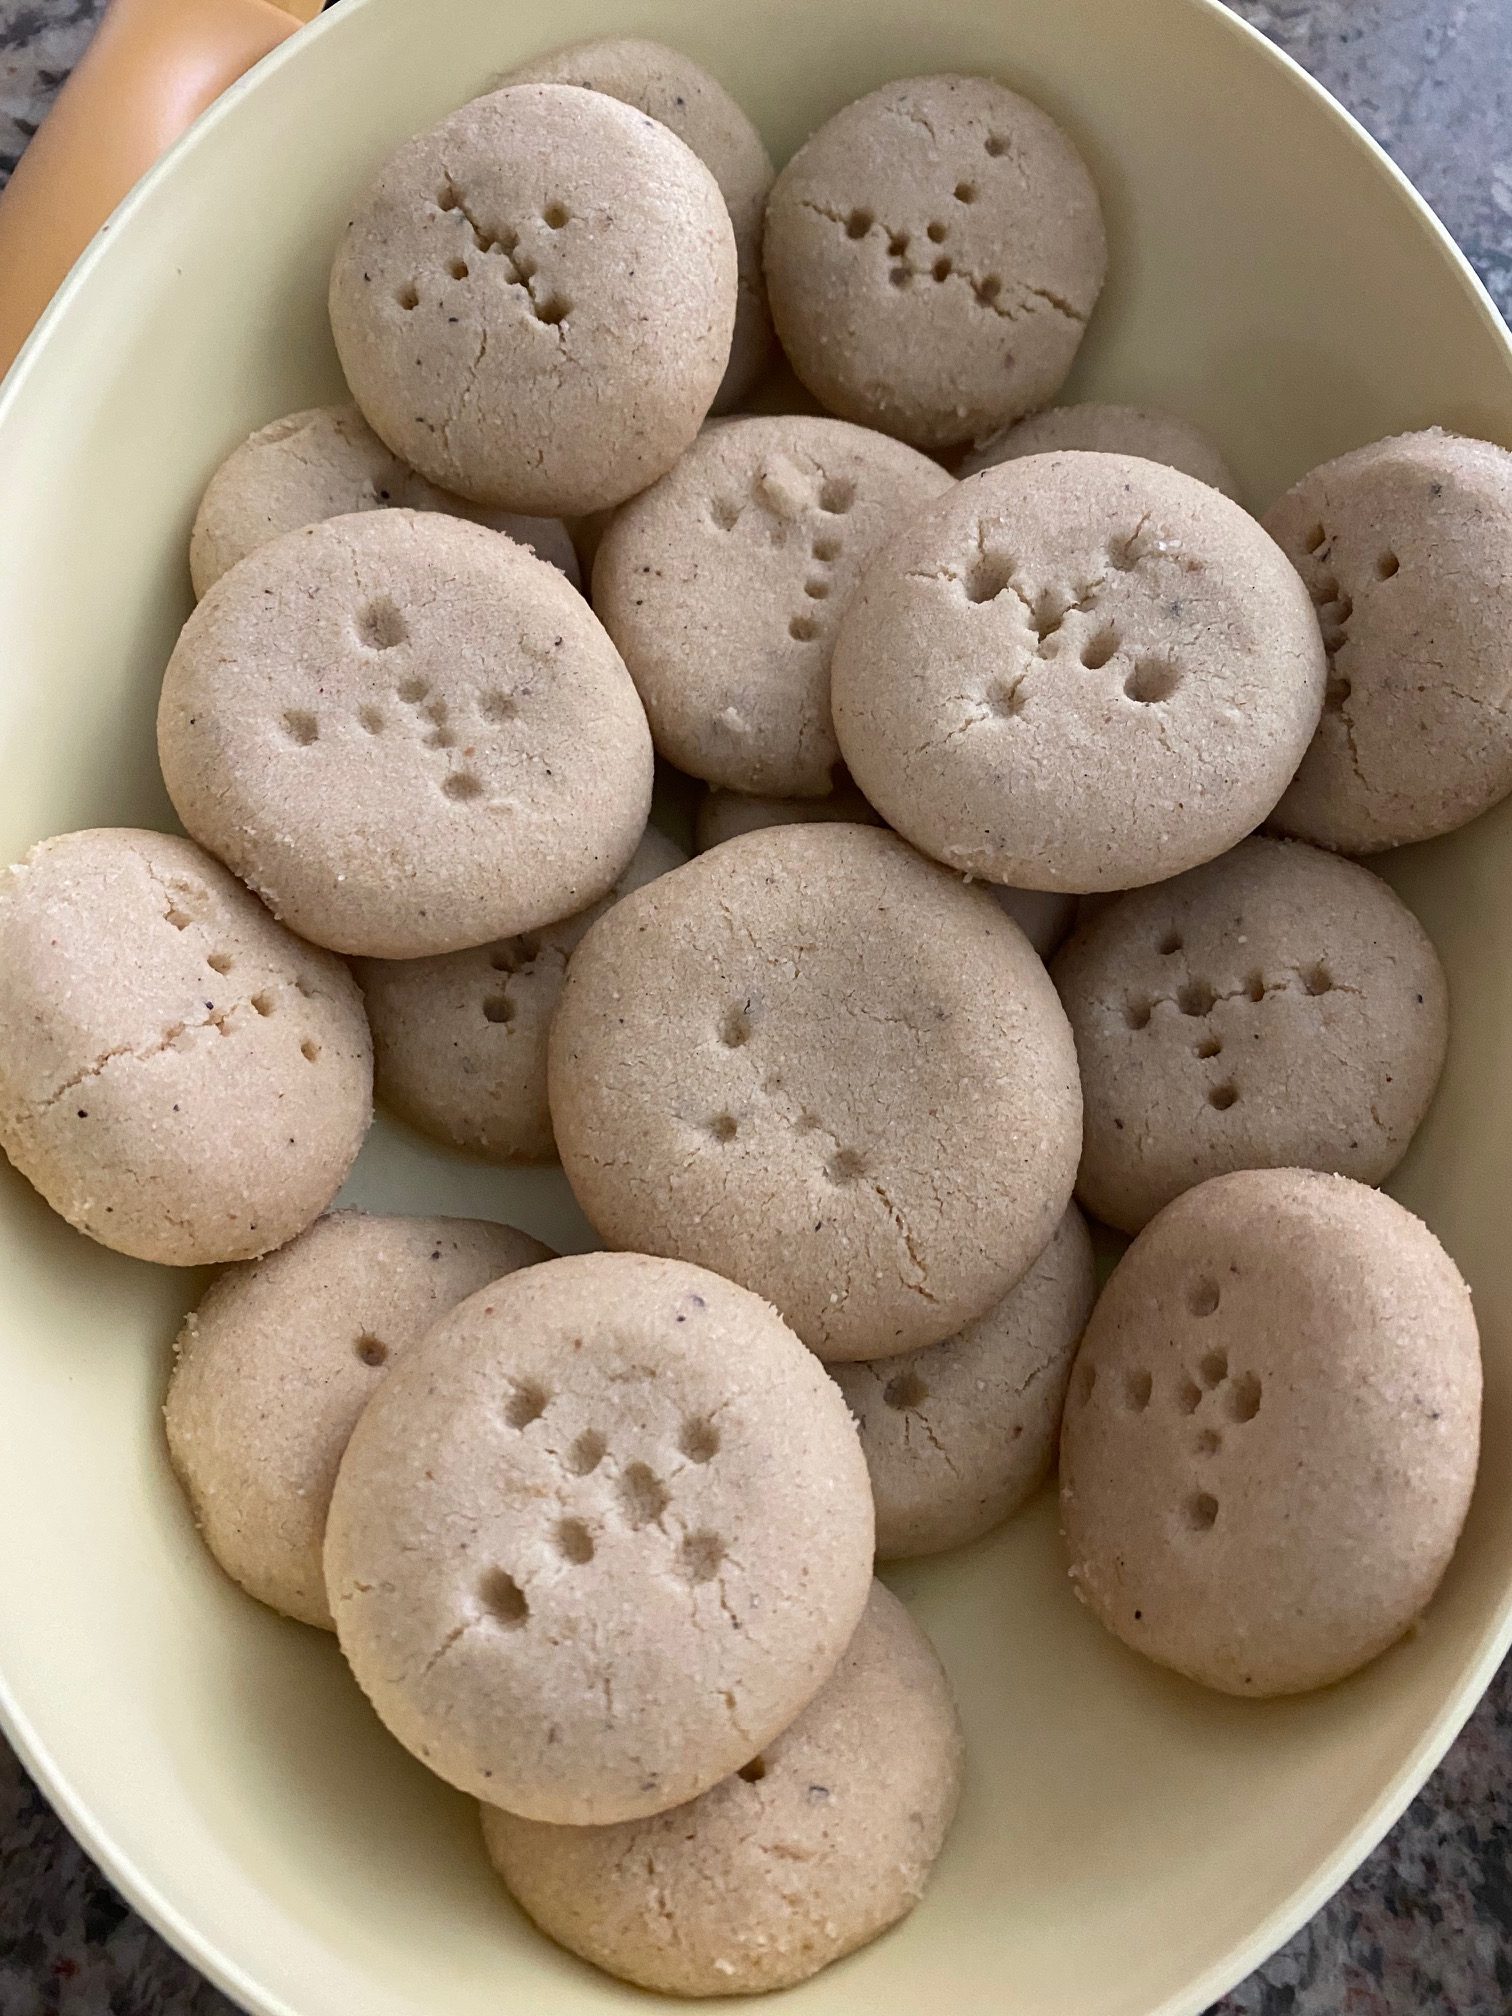
Easy Nankhatai Recipe | How to Make Nankhatai
This Mother's Day is going to be different in many ways. I am one of those (call me a cynic) who…