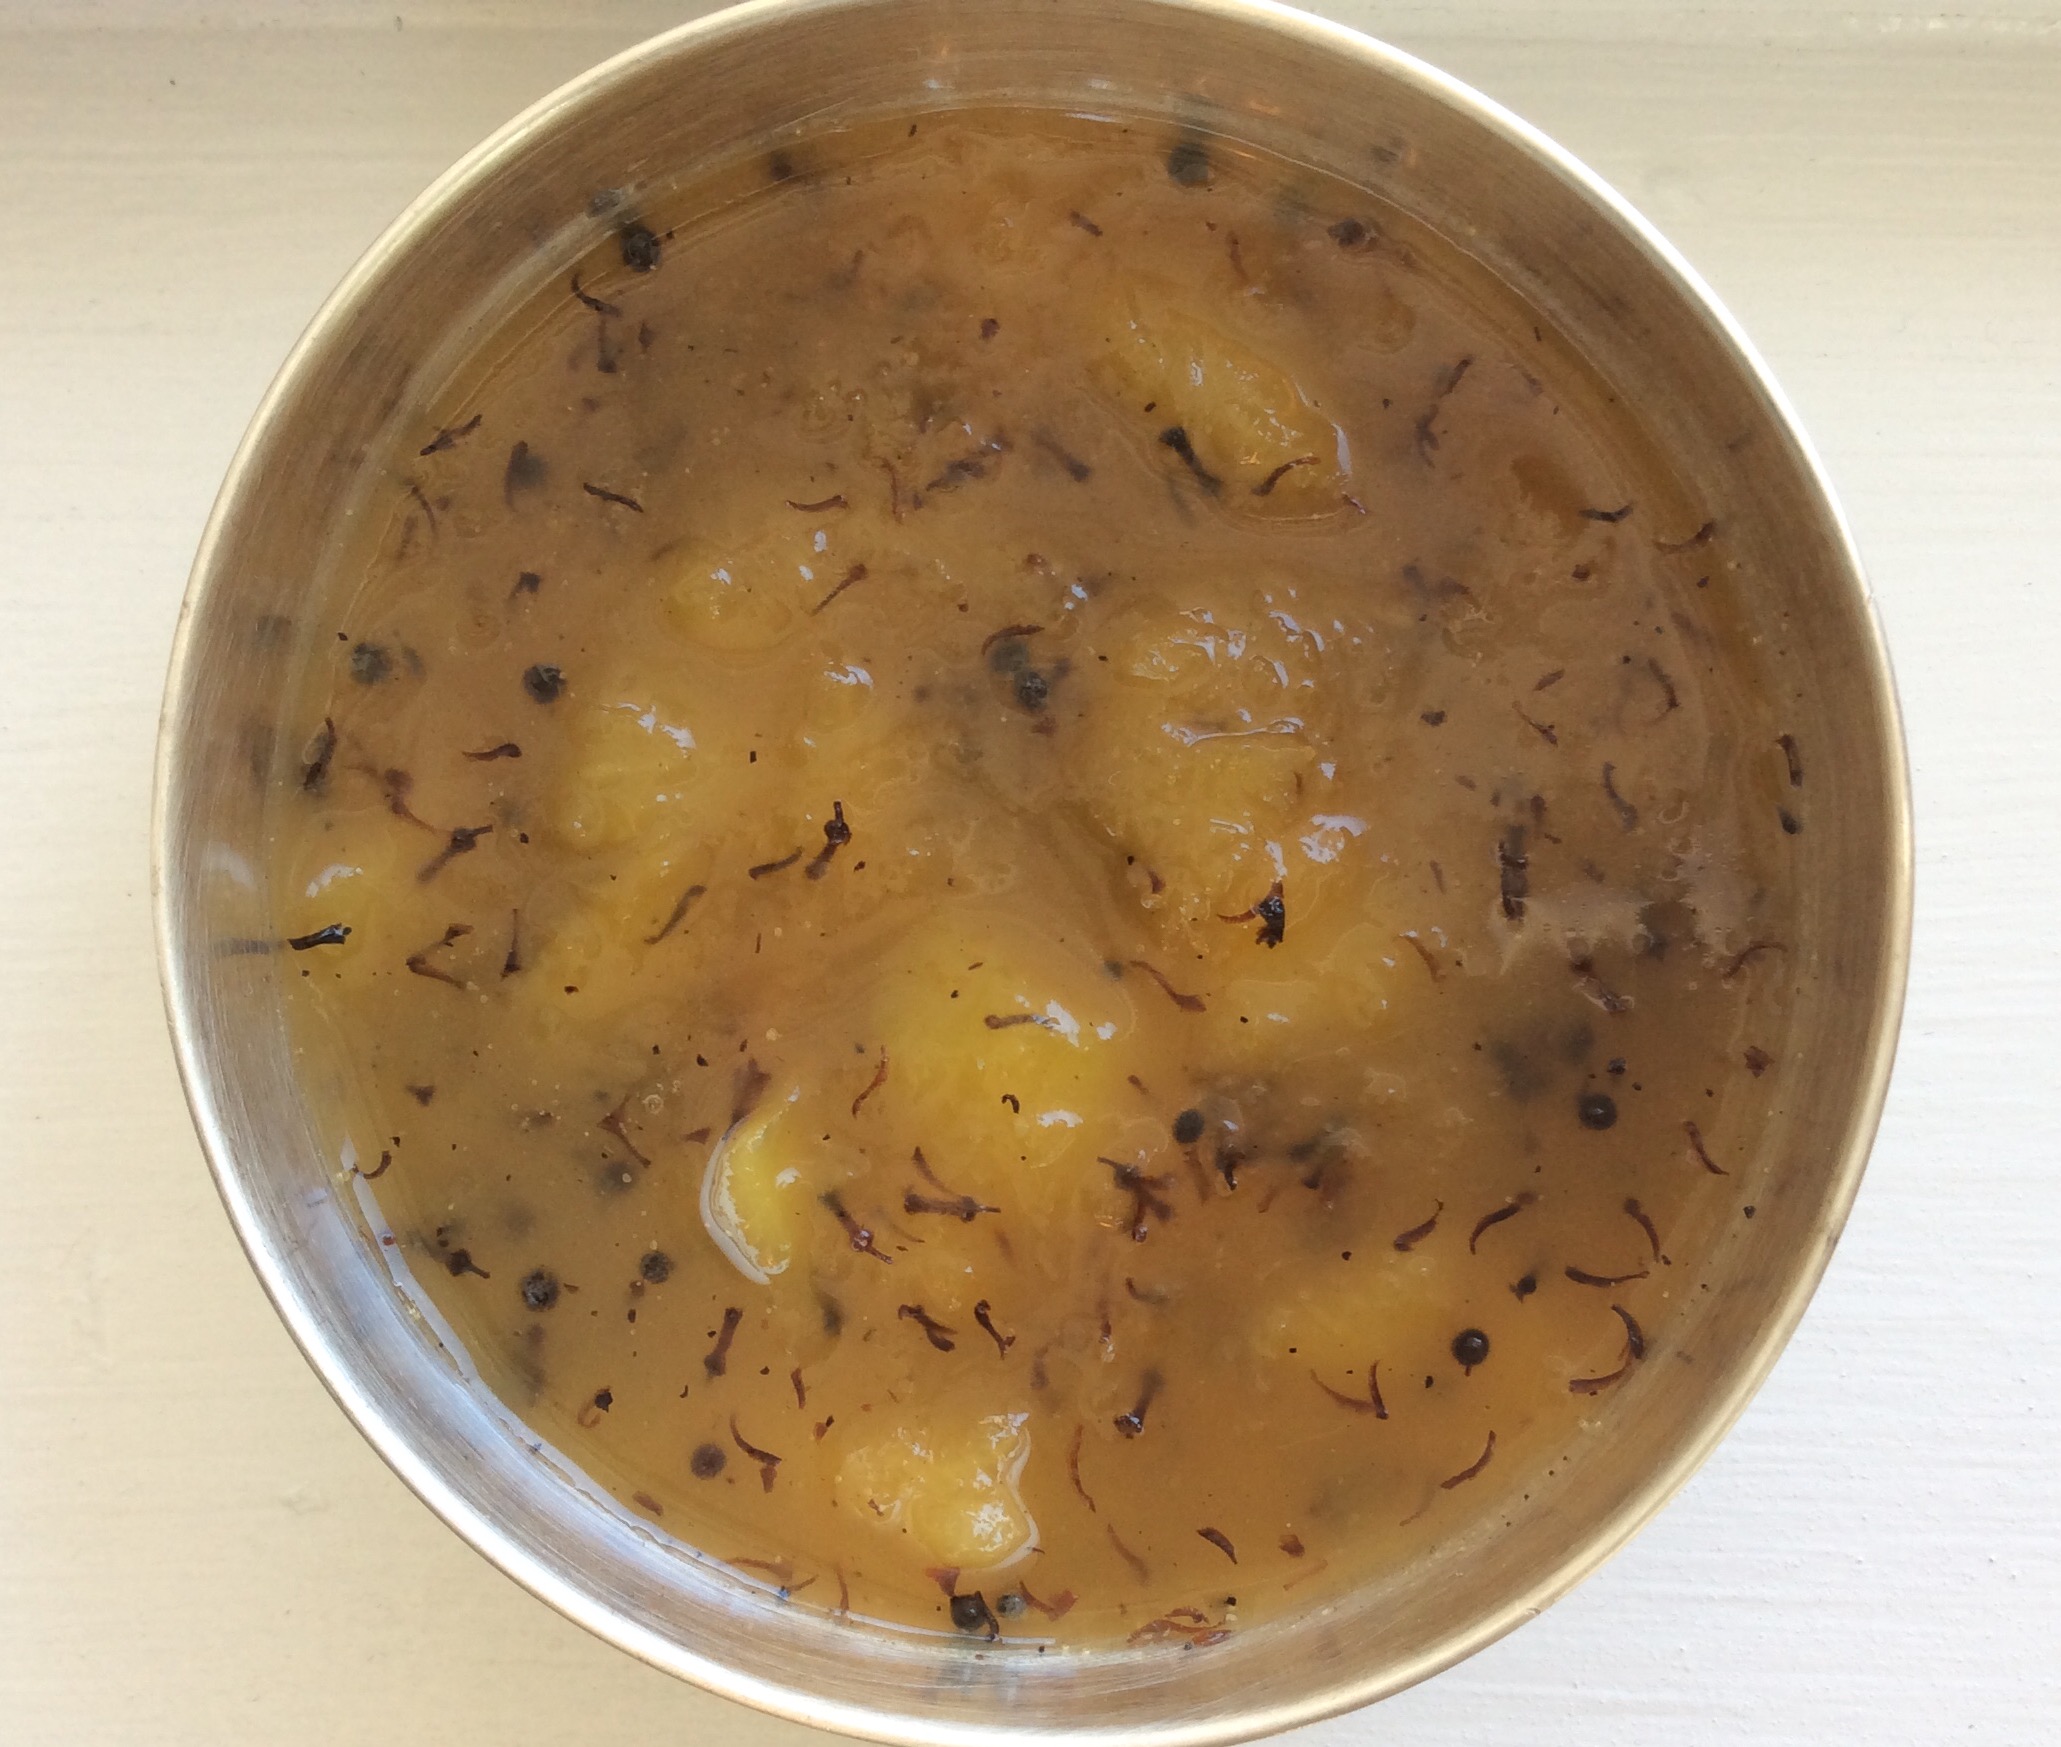
Roz Ka Khana

A blog about everyday food

Archive for the ‘Amma’s recipes’ Category

Pongalo Pongal!

with 2 comments

Growing up, Pongal was one of my favorite festivals. As with the many festivals we celebrate in India, I loved the fact that we got to stay home and eat amazing food, and binge on Sakkarai Pongal:).

Pongal, as explained in my earlier post, is akin to Thanksgiving, marking the Harvest festival and obeisance to the Sun God. It is celebrated in South India as Sankranthi and in the North as Lohri. Sakkarai pongal is one of my all time favorite sweet dishes and I’ve been known to indulge in spoonfuls, um cupfuls of this dish laden with rice, sugar and ghee (clarified butter). I’ve tried to make a healthier version of Sakarai pongal with less ghee but the taste isn’t the same. I’ve given in and this is the version I’ve grown up with – it’s Amma’s version, which also happens to be my favorite recipe for Sakkarai Pongal.

We made the traditional venn pongal, Sakkarai pongal, vadai and Poli today to mark the Pongal and the Sun God must have been happy…it was such a bright and sunny day in Texas:).

Ingredients:

Rice – 1 cup

Moong dal – 1/3 cup

Jaggery – 3 cups

Milk – 1 cup

Water – 3 1/2 cups

Cashews, raisins, for garnish

Cardamom, crushed – 1 tsp

Ghee – 1/4 cup (you can use about 2 tbsp if you need less, but remember that the more ghee the better this tastes:)

Method:

1. Dry roast the moong dal till it is fragrant and turns light brown.

2. Add the rice and mix well.

3. Wash the moong dal and rice with water and drain.

4. Mix the water and milk in a large container and heat on a medium flame. When the mixture begins to boil, add the rice and dal and stir well.

5. After about 10 minutes, transfer this to a pressure cooker and cook for about 5 whistles. (If you don’t have a pressure cooker, you can keep cooking it on the stove, while stirring. Make sure you keep the stove flame really low so as not to burn the mixture.)

6. Meanwhile, melt the jaggery in 3 1/2 cups of water on low heat. When the jaggery dissolves completely, strain the mixture to remove any impurities in the jaggery.

7. Continue to cook the strained mixture on a low heat until it caramelizes and becomes “stringy”.

8. Take the rice out of the cooker now, mash it well. Add this to the jaggery mixture and mix very well until its blended.

9. Now add some ghee and the crushed cardamom.

10. Lightly fry the cashews and raisins in ghee and add this to the pongal as garnish.


Vadai (fried lentil doughnuts)

Ingredients:

Urad dal, soaked in water for about 1/2 hour – 1 cup

Grated ginger – 2 tbsp

Green chilies – 5

Cilantro, chopped – 1/2 cup

Method:

1. Wash the grad dal well and soak it in water for about half hour.

2. Drain the water and keep it in a separate bowl.

3. Grind the soaked dal with the ginger and green chilies to a fine paste.

4. Make sure to grind the dal little by little with very little water until it resembles a smooth paste.

5. Add chopped cilantro and curry leaves if needed.

6. Heat some oil in a round bottomed vessel, kadai.

7. Take the ground dal paste on your palm, flatten a bit and make a hole in the middle (like a donut hole)

8. Add this to the hot oil and deep fry till golden brown.

9. Enjoy hot with some sambar and chutney!

Written by rozkakhana

January 15, 2012 at 8:59 pm

This post is spicy hot….

leave a comment »

And no, this is not some cheap trick to make you look and read this post:). I’m talking about the spiciest pepper in the world, Bhut Jolakia or the ghost pepper. We happened to taste Amma’s and Anusuya’s Pacchai Milagai Thokku or green serrano and thai pepper (chili) chutney last week. The lunch conversation turned into a discussion around the spiciest pepper in the world. Did you know, for instance, that the Bhut Jolakia has over 800k to a million scovil units, the units used to measure the hotness in pepper? And that it’s three times more spicy than habanero pepper, which I always thought was the spiciest pepper I had had.

And you know by now, that we are a family that loves spicy food, from my 9 year old to my 75 year old mother-in-law:). So this conversation was enough to get the taste buds and curiosity stirred to look for this pepper in the local stores.

It may have been sheer coincidence but we were out shopping at Central Market that same day and Nikhil spotted this exact pepper in the produce aisle. I wasn’t expecting to find this so soon, and was amused that our conversation had fascinated Nikhil enough to look for it as well. This wasn’t the fresh but the dried ghost pepper, and the warning on the package was enough to tell us this was the right one indeed:)

We got right down to making Milagai Thokku with some serrano peppers and the ghost pepper. We used serrano only to balance the spice since one ghost pepper was said to be enough to get steam out of your ears:), but if you’re more courageous, try this chutney with thai chili peppers instead. I also think I would try to use fresh ghost pepper instead of the dry one. My only complaint with the dried pepper was that it had a slight smoky, almost chipotle pepper like taste that in my opnion, skewed the taste to a Tex-mex Milagai chutney instead:)

Ingredients:

1/2 pound serrano chilies, finely chopped

2 dried ghost peppers, soaked in hot water for about 15 minutes

Tamarind paste – 1 tsp

Salt to taste

Sesame or til oil – 2 tbsp (you need the oil to preserve this chutney for a few days)

Mustard seeds – 1 tsp

Asafetida, crushed or powdered – 1/2 tsp

Method:

1. Grind the chopped serrano peppers, ghost pepper, tamarind and salt in a grinder to a fine paste. Make sure you don’t ad any water to this paste. The salt will help liquefy it.

2. Heat oil in a heavy bottom vessel (kadai) and when hot, add the mustard seeds and asafetida.

3. Add the ground paste and fry in the hot oil.

4. You will need to fry for about 10 minutes or so while stirring occasionally, till the oil appears around the sides of the chutney. The color of the chutney will also change from bright green to about greenish-brown.

5. Cool and transfer to an air tight vessel.

6. You can enjoy this with dosa, idli, rice or just about any Indian dish!

Written by rozkakhana

July 2, 2011 at 2:27 pm

Indian Cooking Challenge – Gujarati Dal

leave a comment »

I have been slacking again, and to be honest, nothing very inspiring has come along. I’ve tried a few dishes here and there over the last few weeks but didn’t have much to write home about, literally speaking. You know I’ve had that Indian Cooking Challenge badge for months now, and I’ve been following Srivalli of the Indian Cooking Challenge but never really got down to trying any of the challenges, for whatever reasons. I’m not making much sense, I know and am frankly running out of excuses too.

But I did glance at some of her past challenges and something I caught was probably inspiring enough to get me started again. I do have a weakness for Gujarati food, so the title is what got me going this time. This is about one month too late, though so I’m not submitting this post for the challenge but I did try:)

This recipe was apparently adapted from Sukham Ayu by Jigyasa Giri and Pratibha Jain.

Ingredients:

Split red gram (Toor dal) ½ cup
Turmeric powder ½ tsp
Dry soft kokam 4-5 pieces
Hard dry dates (optional) 4, halved
Drumstick 4-5 pieces, 2 inch length
Groundnuts 1 tbsp
Green chillies 2, slit
Ginger 1 inch piece, chopped fine
Coriander powder 2 tsp
Cumin powder 1 tsp
Garam masala (refer tip, p. 49) ¼ tsp
Coriander leaves to garnish
Powdered rock salt to taste

The tempering

Butter or ghee 2 tsp
Mustard seeds ½ tsp
Fenugreek seeds ¼ tsp
Cumin seeds ½ tsp
Dry red chillies 2
Asafoetida powder ¼ tsp
Curry leaves 5-6

1. Wash and soak red gram for half an hour. Pressure-cook in 2 cups water along with turmeric to a soft consistency. Churn well.

2. Pour the churned gram into a thick bottomed pan and add all the ingredients (except garam masala, coriander leaves and tempering). Add 1 cup water and allow to simmer over low flame for 15-20 minutes, stirring occasionally.

3. In a wok, heat ghee for tempering. Pop the mustard and then add the fenugreek. Reduce flame and with the browning of the fenugreek, add cumin, red chillies, asafoetida powder and curry leaves.

4. Pour this tempering into the simmering dal. Allow to boil for another 5 minutes. Switch off flame and garnish with garam masala and fresh coriander leaves.

Serve with hot rice or chapathis.

I skipped the jaggery in this recipe and just used the dates. This dal is sweet so if you don’t care for the tangy sweetness you can skip the dates too.

Written by rozkakhana

March 28, 2011 at 11:29 pm

Posted in Amma's recipes, Lentils

Tagged with , ,

Hot Bread Tikkas

with one comment


Its Snow day #2 in Plano, TX…17F with a wind chill of minus whatever, 2 inches of ice, (ice, not snow) on the streets, rolling blackouts everywhere, frozen pipes…you’d think the world was coming to an end in Plano! Jokes aside, it has been pretty serious and I have to say I’m very thankful I’m still typing this. This means that I have power at home, heat to keep us warm, groceries to last us for at least the next day…and, internet connection.  At least for now. Thank you (silent prayer) for an uneventful day today.

You’d think that a day like this is perfect to cook and blog…only, when you have a bored 9 year old at home for 2 whole days and you have to work, its the perfect recipe for disasters, cooking or otherwise. “Amma, can you play with me?” or “Can I go outside to play by myself”…only to be back in 5 minutes with a frozen chin and a “Do we have anything to cover my chin?”  to “I’m sledding umm ice-skating outside”…aargh!! We’ve had painted t-shirts, hand made water bottle people traps (don’t ask!), catapults, paper ninjas strewn all over the house..all Nikhil’s original creations. And school just announced that they are closed again tomorrow. Help!! Who has time to cook, or blog!

But again, I’m thankful for Amma, who continues to ensure her babies (me and her grandson:) are well-fed, as she whips up the perfect antidote to a gloomy snow day…steaming hot bread tikkas! Add some chili sauce and ketchup and I’m all set for snow day #3:)

Ingredients:

Whole wheat bread – cut into small squares - 4 slices

1 cup chickpea flour (besan)

1/2 Yellow onion chopped fine

1/2 cup cilantro, chopped

1tbsp red chili powder (add more if you like it spicy)

1 tsp garam masala (available in Indian stores)

1 tbsp oil

1/2 cup water

salt to taste

Method:

Take the chickpea flour in a mixing bowl. Add about 1/2 cup water to make a smooth paste. The batter needs to be a little runny so as to coat the bread, not too watery but a slightly thicker paste, so adjust the water accordingly.

Add the onions, chili powder, salt and cilantro and mix well.

Take a bread cube, dip it in the batter so it coats the bread completely.

Heat a flat skillet and the oil, when the skillet is hot. Add the bread slices coated with the batter and shallow fry till well browned on all sides. Serve piping hot with ketchup or chili sauce.

Written by rozkakhana

February 2, 2011 at 7:56 pm

Aviyal (Vegetable Stew in Coconut Chili Gravy)

leave a comment »

This is one of Amma’s (my mom) famous recipes. I may have mentioned it here before, but she used to be referred to as “AP Mami” among her near and dear friends. Mami in Tamil refers to aunt and AP stood for Aviyal (vegetable stew) and Paal Payasam (a traditional Indian rice pudding or kheer). I can’t say much about the creativity of the title nor do I believe it does any justice to her incredible culinary skills, but the name stuck for a while. She became known for her Aviyal and Paal Payasam at pot lucks and other group dinners. Strangely I never really cared to learn these dishes from her growing up, and almost always took them for granted. But I never did develop a taste for Aviyal made by anyone else. And to add to this, I married a foodie, who has a similar taste (at least  with this dish, in many other cases, we are quite the opposite:), and who wouldn’t dream of having any other Aviyal but Amma’s.

Rambling aside, here’s the recipe the way Amma makes it. She refused to write it down for me so I had to watch her make it and ignore the “throw this in and add that” instructions. This is a very simple recipe and there’s just a few key things to remember as you cook this dish.

Ingredients: (to serve about 4 people)

1/4 cup beans, cut lengthwise into 1 inch pieces

1/4 cup white pumpkin cut into small quarters

5-6 drumsticks (saragava)

1/4 cup raw green plantain cut lengthwise into 1 inch pieces

1/4 cup yam cut into small quarters

1 1/2 cups grated coconut

10-12 green chilies (I use Thai green chilies, but you can use longer ones if you need to reduce the heat or deseed them)

1/2 tsp turmeric

1 cup plain lowfat yogurt, beaten

2 tbsp coconut oil

A few curry leaves

Method:

Take about 2 cups water in a saucepan, add the mixed chopped vegetables and turmeric and bring to a boil. Boil for a few minutes until cooked. Drain the water into a separate bowl and set aside. You can use this water later for the gravy if needed.

Grind the grated coconut and green chilies to a paste in a blender. You can add the vegetable water set aside (about 1/2 to 3/4 cup) to make a smooth (not too runny) paste.

Add this paste to the cooked vegetables, and add salt . Place the saucepan over a medium flame. This is the most important step to make the perfect aviyal. Make sure you are close to the stove and you are stirring frequently till the mixture comes to a light boil. Once you see the first signs of boiling, add the beaten yogurt and mix well for one more minute. Turn off the stove, add the curry leaves and the coconut oil. Enjoy with some hot white rice!

If you haven’t already noticed, Aviyal does look very similar to the vegetable stew posted earlier but is a different method. Both the dishes have their origins in Kerala though Aviyal is also a very popular dish in Tamil Nadu (states in South India). If you try both, let me know what you think of their distinct tastes.

Written by rozkakhana

January 12, 2011 at 8:20 pm

Vella Adai (Steamed Jaggery Doughnuts)

leave a comment »

It’s time to spring forward as daylight savings time begins! Not my favorite time of year especially when it comes to mornings. I feel like I’m always playing catch up until Fall arrives and it’s time to fall back:) I suppose that’s typical for someone like me who is more nocturnal, definitely not who you would call a “morning person”. As I write this, I can hear my 8 year old snoring as he cherishes his first day of Spring Break. Ahh, the joys of sleeping in and the joys of having a “break”.

I can’t complain though…I have had somewhat of a break since Amma and Appa have been here with me. Especially during special festive days like March 14, the day when we are supposed to observe Karadai Nombu, according to the Hindu calendar. Karadai Nombu is for the South Indian Hindus (read Tamil) what you would call “Karvaa Chauth” for North Indian Hindus (not literally, but the intent is similar)- a day when married ladies pray for the well being of their spouses.  I’ve always wondered why there wasn’t a similar day for men to honor their wives…Hallmark, are you listening?

If you’re intrigued to know more about the story behind this tradition, go here.

For the first time since I have been married, I ventured to make the “adais”. Amma has been here for the last couple of years and she usually makes it, and then there are some years where I tie the yellow thread that is customary but haven’t really gone the whole nine yards, pun intended:) In case you didn’t get that pun, the traditional way is also to wear a nine yards saree while breaking the fast, which I don’t do as well. So this year I did go all out, sort of, minus the nine yards.

Amma and I also sought the help of Viji Varadarajan, the author of “Festival Samaiyal” who has a book made for the likes of me, a glossary of all the traditional South Indian festivals, with step by step instructions on how to make the required menu for each. The recipe that follows for the Vella Adai and Uppu Adai is adapted from this book.

A quick background on Karadai Nombu (pronounced Kaa-ra-dai NO-m-bu). Also known as Savithri Nombu, this festival is celebrated in the month of Maasi (Feb-March). Sathi Savithri, the courageous woman, argues with the God of death, Yama, to free her husband, Sathyavan from the clutches of death. She eventually wins him over and her husband is brought back to life. On this day, women usually fast until the auspicious time arrives (when the Maasi month begins), and chant prayers for the longevity of their husbands. The Vella Adai (sweet steamed doughnut) and Uppu Adai (salted or savory doughnut) is usually offered with a dollop of butter. A piece of flower is tied to a yellow (sacred) thread and worn around the necks of married women (sumangalis). The area of worship is cleaned, and patterns with rice powder are drawn (kolam). Fresh plantain leaves are placed and the adais are served on these. The women eat first and break their fast followed by the rest of the household.


Ingredients for Vella Adai:

2 cups rice flour

2 tbsp Black eyed peas

2 tbsp coconut, chopped or grated

2 1/4 cups jaggery powdered

1/4 tsp cardamom

1 tbsp ghee or clarified butter

1 banana (optional)

Method:

1. Soak the black eyed peas in hot water for 20 mins. Pressure cook for one whistle or cook in a microwave on high for 2 mins.

2. Dry roast the rice flour for 8-10 minutes on a medium flame till it looks a little golden.

3. Take the powdered jaggery in a saucepan and add the 4 cups water to it. Melt the jaggery over a low flame. Strain if needed. Place it back on the stove and add the cooked beans, coconut, rice flour and cardamom powder.

4. Take off the flame and mix well to avoid lumping.

6. Return the mixture and cook for 8-10 minutes or until it starts sticking to the ladle. Switch off the stove.

7. Take lemon sized balls of this mixture, pat them in your palm to about 1 1/2 inch thick patties. You may grease your hands with a little butter if needed. You may also take a banana leaf, wet it a little and make the patties on the leaf to avoid sticking. make a hole in the center of the patty.

8. Place small pieces of banana leaves in idli moulds or in a steamer and steam for about 10-15 minutes.

9. Serve with a dollop of unsalted butter.

Uppu Adai (Salted or Savory steamed rice doughnuts)

Ingredients:

2 cups rice flour

1 tbsp black eyed peas soaked and boiled as in the step above

2 tbsp chopped coconut

3/4 tsp salt or to taste

1 large banana leaf, cut into 3″ squares

For seasoning:

1/4 tsp mustard seeds

4-5 green chilies, chopped fine

1/2 tsp asafetida powder

a few curry leaves, chopped fine

1 1/2 tsp oil

1. As in step above, soak and boil the black eyed peas.

2. In a heavy bottomed vessel, heat the oil, add mustard seeds until they pop. Saute the chopped green chilies, add the coconut, asafetida, curry leaves, salt and cook for a few minutes.

3. Add 6 cups of water and bring to a boil. Lower the flame and add the rice flour, stirring to avoid lumps.

4. Cover with a lid and simmer for about 10-15 minutes until the flour is cooked. Now add the beans and stir until it blends well. Take this off the stove.

5. Make patties as in the step above and steam them in idli moulds or in a steamer.

Written by rozkakhana

March 16, 2010 at 10:50 pm

Bisi Bele Bhath Huli Quinoa (Spiced lentil and quinoa Gumbo)

with 4 comments

A friend of ours recently introduced us to quinoa and all its benefits. Quinoa or KEEN-WAH as it is pronounced,  is 100% whole grain and I was excited to note that not only does it have fewer carbs than rice but is a great source of protein – 12% to 18%. To learn more about Quinoa and its benefits, go here.

We had been trying to find alternative methods to cut down rice from our diet. Brown rice, broken wheat are all great alternatives, but I find that neither has the protein content that quinoa provides. Basically, quinoa seems the closest to providing a balanced nutrition, the carbs, protein, Vit.B etc.

Of course, we tried it as an alternative to plain rice and then mixed it with plain yoghurt for the traditional South Indian staple, thayir saadhan or rather thayir quinoa! The other characteristic of quinoa that differentiates it from brown rice or broken wheat is that though there is a slight nutty flavor, you cannot taste it at all when you mix it with spices or curries. This, to me, is a perfect alternative to white rice!

Girish came up with the brilliant idea of trying bisi bele huli quinoa today for lunch and my mother got equally excited with the idea and pulled out her staple recipe for bisi bele huli bhaath. She and I got busy making it and I have to say it was awesome. So if you truly want to try this with rice, the recipe is just the same, only replace the quinoa with cooked rice.

Ingredients:

Boiled Toor Dal (yellow pigeon peas)  – 1 cup

Cooked quinoa – 1 cup (1 cup quinoa and 2 cups water in a pressure cooker, or a rice cooker)

Madras Sambar Powder – 2 1/2 tsp (you can use the MTR brand)

Turmeric – 1 tsp

Tamarind – lemon size soaked in water and made into a paste

Beans – 1/2 cup julienne sliced

Carrots – 2 julienne sliced

Peas – 1/2 cup

Cauliflower – florets 1/2 cup

Masala – to be ground into a paste

Onions – 2

Garlic – 8 pods (optional, if you dont like the smell of garlic, you can skip)

Red chilies – 8-10

Ginger – 2 inches

Khus Khus – 2 tbsp (poppy seeds)

Cloves – 4

Cardamom – 2

Dalchini (Cinnamon sticks) – 2

Grated coconut – 1/2 cup

Oil – 1/2 cup

Garnishing: cilantro – 1/2 cup, cashew pieces – 1/2 cup, mustard seeds – 1 tsp, curry leaves – a bunch, red chilies – 2

Method:

1. Take 2 tsp of oil in a heavy bottomed pan, add all the ingredients for the masala and fry lightly for about 5 minutes.

2. Add the turmeric powder and fry again for 2 more minutes. Allow to cool.

3. Put all the ingredients in the pan, add the tamarind and the tomatoes and grind to a smooth paste. Keep this aside.

4. Now take the same kadai, add the remaining oil and lightly fry the vegetables for about 5 minutes.

5. Add the ground paste and continue to fry until the oil separates, for about 10 minutes. Then add the sambar powder.

6. Now add the boiled and mashed toor dal, add about a cup of water and leave it to boil, for about 5-7 minutes. Add salt to taste.

7. Now add the cooked quinoa to the above mixture, and mix well. Cook a little more for about 5 minutes until the ingredients are thoroughly mixed.

8. In a separate pan, add a little oil, about 1 tsp. When the oil gets hot, add the mustard seeds and fry till they crackle. Now add the curry leaves and the red chilies. Add cashews and fry till they brown a little.

Add this to the bisi bele huli quinoa. Garnish with chopped cilantro and serve hot.

Written by rozkakhana

December 26, 2009 at 2:35 pm

Bread Upma (Scrambled Bread)

with one comment

Another staple Amma’s recipe. This dish brings back memories of school, when Amma would make this piping hot for breakfast and I would love it so much that I would take the same dish for lunch! There are many ways to make this “upma” and most recipes I know have onion and/or tomato, but I prefer it without, the bread is a little more “crispier” and I absolutely love the mustard/urad dal combination and eat it plain after I’m done snacking on all the bread!

Ingredients:

Sourdough bread (1/2 loaf). (You can also use plain white bread that’s a couple of days old). I haven’t tried it with whole wheat bread or rye bread, which you could use for a little more nutritious boost.

Yoghurt – 1/4 cup

Chutney powder (also called dosai mulagai podi in Tamil) – 2 tsp, or to taste

Curry leaves – a sprig

Mustard seeds – 2 tsp

Urad dal – 2 tsp

Salt to taste

Dry red chilies – 3

Oil – 1 tbsp

1. Break the bread into small bite size pieces or cubes. Add the yoghurt mixed with the curry powder to the bread. Let the bread soak in the yoghurt mixture for a few minutes till it gets soft.

2. Heat the oil in a wok or skillet. Add the mustard seeds, urad dal.

3. After this crackles, add the curry leaves and dry red chilies.

4. Now add the bread to the hot oil and mix with the mustard seeds /urad dal tadka.

5. Heat on a low flame for about 5 minutes till the bread starts to look a little “fried”, while stirring occasionally.

6. Enjoy piping hot!

Did I mention that this is one of Nikhil’s (my son) favorites too? He has obviously imbibed my taste buds…Bread Upma is one of his lunch box staples and his Paatti (grandma) makes it for him at least once a week or once every two weeks! Like mom, like son!

Written by rozkakhana

September 24, 2008 at 8:49 pm

Carrot Coconut Squares

with 2 comments

Thanks for all the comments on the recent blog makeover. Being new to blogging, it’s always encouraging to get a comment, even if it’s in monosyllables..it’s just a testament that I have your support.

I have been relatively quiet this month, though that’s not saying that things were quiet in the kitchen. In fact the kitchen is super busy…my mom is here from India. And that only means more scrumptious contributions from my..er..her..our kitchen! Amma has some staple recipes that she has mastered ..I’m not saying that because I’m her daughter, but I’m yet to taste anything like her aviyal (vegetables in coconut curry sauce) and paal payasam (rice kheer/pudding) or her burfis. I think it would be befitting to dedicate a section of this blog to Amma’s recipes. This quote that I read somewhere sums up Amma in a few words..

A mother is a person who, seeing that there are only four pieces for five people, promptly announces she never did care for pie.

That is Amma.

I thought I’d start off this section on a sweet note with her famous burfi recipe. She makes different kinds but here’s a new one that she made within the first few days of coming here. The burfi was devoured in a few hours!

Ingredients:

1/2 carrot grated

1/4 cup grated coconut

15 cashewnuts powdered

1/4 cup milk

1 1/2 cup sugar

2 tbsp ghee (clarified butter)

1 tsp cardamom powder (elaichi pd)

1. Take the grated carrot, coconut and cashews in a blender. Add the milk and blend to a paste.

2. Take about 1 1/2 cup water in a saucepan and add the sugar to this to make sugar syrup. You will know it’s done when the syrup becomes thick and forms a “single string” when touched between your thumb and forefinger. That’s the test Amma does to ensure it’s done. Unfortunately I didn’t take enough pictures to show you this but I’ll try to explain how she does it. Take a little bit of the sugar syrup and spread it on your thumb. Now press your forefinger against your thumb and when you separate your fingers, you will see a “single string” of syrup.

This could also be called a “soft ball” stage. Check out this link to see what I’m talking about.

3. Now add the carrot-coconut-cashew-milk paste to this sugar syrup. Keep stirring this mixture on a low to medium flame till the mixture leaves the sides of the pan. This may take about 10-15 minutes but make sure you turn off the heat when the mixture starts to thicken and leave the sides of the pan, else you may overcook it.

4. Add the ghee to this mixture and the cardamom powder.

5. Take some butter paper (optional) on a flat plate or thali. You may also use a greased plate if you don’t have butter paper handy. Spread the mixture on the paper with a greased flat ladle. Allow to cool to room temperature and then cut into squares.

Written by rozkakhana

June 23, 2008 at 10:32 pm

Follow

Get every new post delivered to your Inbox.